Folder Structure
The way you organize your directories inside the ${MOCKS_DIR}, determine how your endpoints will be available. Following examples will help you understand the folder structure you need to maintain.
Basic GET Request to /hello-world
- Create a directory ${MOCKS_DIR}/hello-world
- Create a GET.mock file inside it with your required raw html response
POST Request to /users
- Create a directory ${MOCKS_DIR}/users
- Create a POST.mock file inside it with your required raw html response
GET Request to /users/:userId
- Create a directory ${MOCKS_DIR}/users/__ (double underscore)
- Create a GET.mock file inside it with your required raw html response
Similarly you can create PUT.mock, DELETE.mock etc in your intended path. For wildcard, use directory name as __ (double underscore)
Note
Unlike the original mockserver, request matching criteria are taken care of inside the .mock files instead of naming the files in a certain way. We intend to keep the file names simple and in the format ${HTTP_METHOD}.mock
Danger
Protocols http, https and http2, share the same mocks directory and folder structure, however folder structure and mocks directory for gRPC and websockets mocks are different. Please refer to the section Mocking gRPC if you are planning to create gRPC mocks.
What data to put in .mock files
Camouflage expects a raw HTTP Response to be placed in the .mock files. Please refer to this Wikipedia page, if you are not sure what the response looks like.
Each mock file can have the HTTP Responses in following manner:
- One response per .mock file.
- Multiple responses in one .mock file with conditions defined to help Camouflage decide which response should be sent under what conditions. (Read Handlebars section for more)
- Multiple responses separated by Camouflage's delimiter i.e. "====" (four equals). Camouflage will pick one response at random and send it to the client. An example of this can be found here
The data you want to put can be easily fetched using a curl command with -i -X flags in the following manner.
Example:
Running this command, gives you a GET.mock file with following content. Modify it according to your requirement and place it in the location ${MOCKS_DIR}/users/__, and you have successfully mocked jsonplaceholder API.
HTTP/1.1 200 OK
date: Sat, 17 Apr 2021 05:21:51 GMT
content-type: application/json; charset=utf-8
content-length: 509
set-cookie: __cfduid=ddf6b687a745fea6ab343400b5dfe9f141618636911; expires=Mon, 17-May-21 05:21:51 GMT; path=/; domain=.typicode.com; HttpOnly; SameSite=Lax
x-powered-by: Express
x-ratelimit-limit: 1000
x-ratelimit-remaining: 998
x-ratelimit-reset: 1612952731
vary: Origin, Accept-Encoding
access-control-allow-credentials: true
cache-control: max-age=43200
pragma: no-cache
expires: -1
x-content-type-options: nosniff
etag: W/"1fd-+2Y3G3w049iSZtw5t1mzSnunngE"
via: 1.1 vegur
cf-cache-status: HIT
age: 14578
accept-ranges: bytes
cf-request-id: 097fe04d2c000019d97db7d000000001
expect-ct: max-age=604800, report-uri="https://report-uri.cloudflare.com/cdn-cgi/beacon/expect-ct"
report-to: {"endpoints":[{"url":"https:\/\/a.nel.cloudflare.com\/report?s=%2FkpNonG0wnuykR5xxlGXKBUxm5DN%2BI1PpQ0ytmiw931XaIVBNqZMJLEr0%2F3kDTrOhbX%2FCCPZtI4iuU3V%2F07wO5uwqov0d4c12%2Fcdpiz7TIFqzGkr7DwUrzt40CLH"}],"max_age":604800,"group":"cf-nel"}
nel: {"max_age":604800,"report_to":"cf-nel"}
server: cloudflare
cf-ray: 6413365b7e9919d9-SIN
alt-svc: h3-27=":443"; ma=86400, h3-28=":443"; ma=86400, h3-29=":443"; ma=86400

{
  "id": 1,
  "name": "Leanne Graham",
  "username": "Bret",
  "email": "Sincere@april.biz",
  "address": {
    "street": "Kulas Light",
    "suite": "Apt. 556",
    "city": "Gwenborough",
    "zipcode": "92998-3874",
    "geo": {
      "lat": "-37.3159",
      "lng": "81.1496"
    }
  },
  "phone": "1-770-736-8031 x56442",
  "website": "hildegard.org",
  "company": {
    "name": "Romaguera-Crona",
    "catchPhrase": "Multi-layered client-server neural-net",
    "bs": "harness real-time e-markets"
  }
}
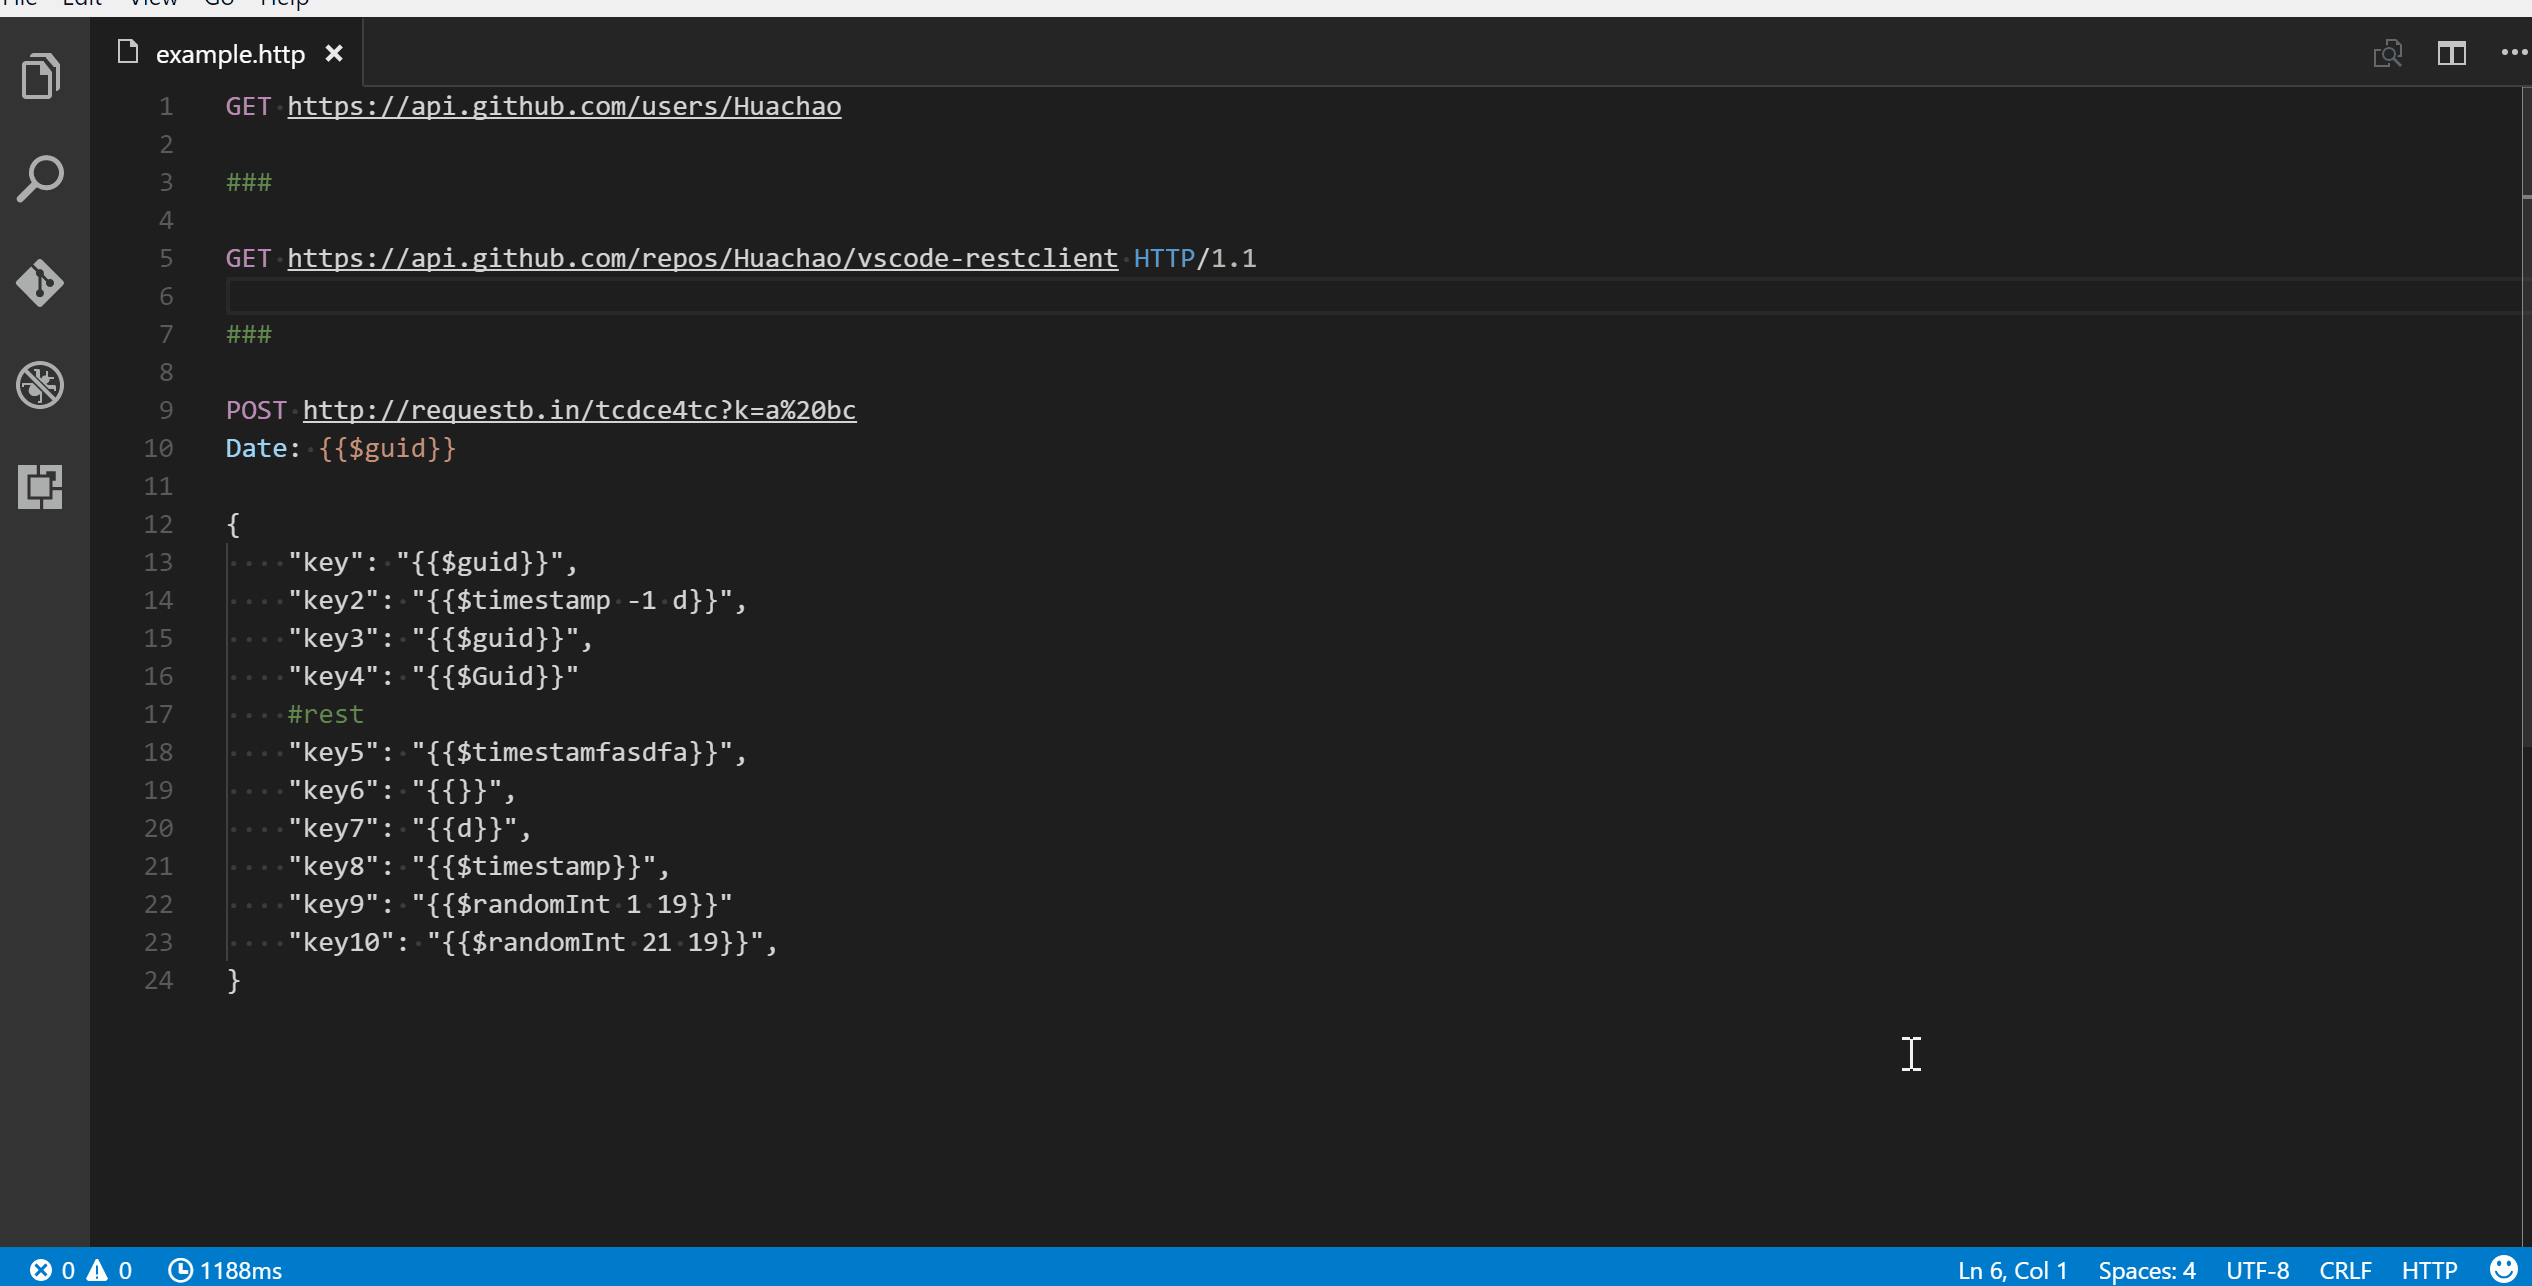
Another, easier, approach to create mocks is by installing the REST Client VS Code Extension and using it to fetch the required data for mocks.
- Launch VS Code and install "REST Client" Extension by Huachao Mao or simply open the link above.
- Create a .http file in your project to document your actual http endpoints and make the requests.
- Visit REST Client github repository for more details on usage
Line Breaks in mock files
Note
Camouflage by default looks for the OS specific line breaks. For example, if you are on MacOS or Unix based systems, the default line break/new line is \n, whereas on windows it's \r\n. This is known to cause issues if your development environment and testing environment are different for Camouflage. For example, if you have created your mock file on a windows machine and uploaded it to a Camouflage server running on linux, your mocks might not work as expected. Or in case your text editor's line break settings do not match your OS default line break, you might not get an expected response. Starting v0.5.1, Camouflage detects new lines used in the file irrespective of the OS default. However, if you face any issues where you are getting a blank response or any unexpected response, please create an issue attaching your log files. REMEMBER TO REMOVE SENSITIVE DATA, IF ANY, FROM YOUR LOGS.